SATA power supply
Have you ever needed to power a HDD for testing purposes, diagnostics etc. but you did not have an available SATA power cable ? Then this project is ideal for you.
How it works
Its a pretty simple and easy project. All that the device does is use dc-dc buck converter modules to drop the 12v dc from an external power supply to 5v and 3.3v. I also added a switch for the 3.3v rail because some HDDs read the 3.3v as a shutdown signal and an led.
Schematic

Parts

DC-DC buck converter PCB DC jack LED Switch Resistor SATA power cable


- DC – DC buck converter : The hart of this project, You give it 12v and by adjusting the potentiometer it drops the voltage to the needed level.
- PCB boards: The base of the project. I had to cut mine to size, but you can find them in many sizes
- LED: A simple indicator LED, pick whatever color and size you like.
- Resistor: You will need to calculate the value of the resistor based on the forward voltage and operating current of the led. In my case i used a 470ohm resistor.
- SATA power cable: I salvaged one from an old dead power supply.
Tools
Solder Soldering iron Drill 3mm drill bit Side cuters Wire


Assembly & tips

You might need to drill some holes on the PCB for the dc jack, as for mounting the buck converters i used resistor leads. You can use wire or components leads where needed.
After assembling the PCB and adding all the components power the device but do not connect a HDD yet! First we need to adjust the buck converters to match the desired voltages of 5v and 3.3v.
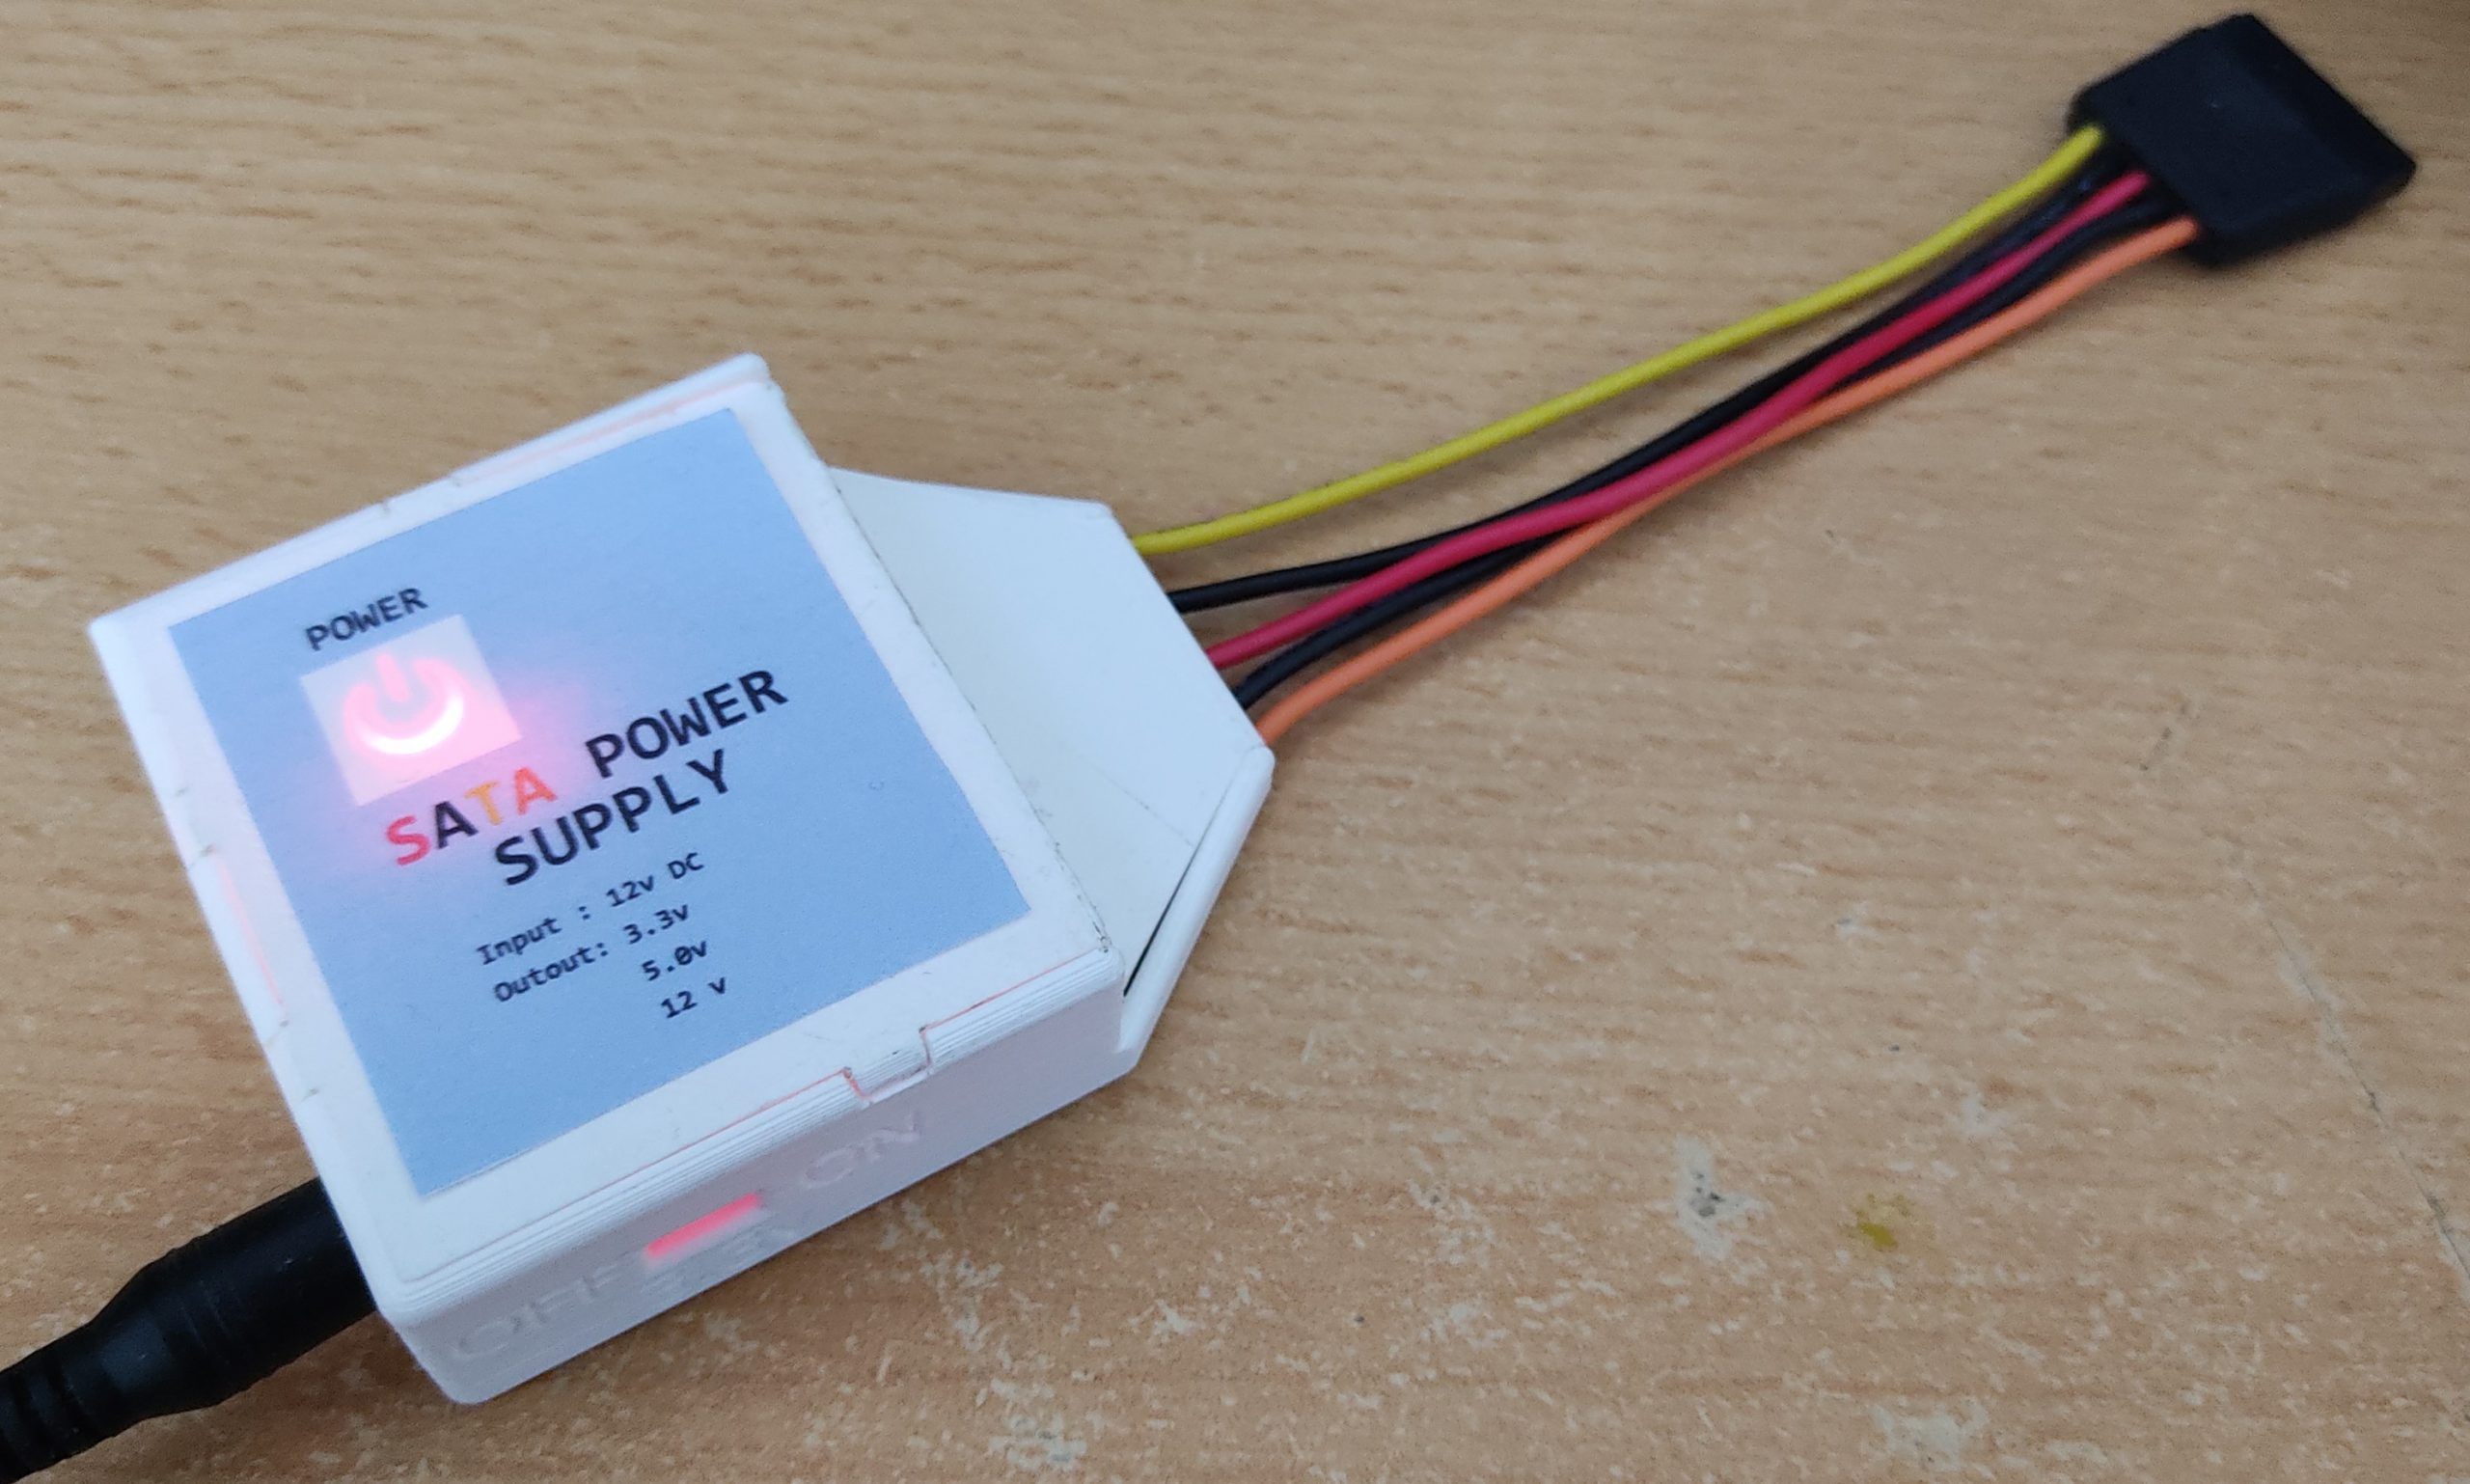
Afterwards connect the 3.3v rail to the orange wire, the 5v rail to the red wire, the 12v to the yellow wire directly from the power source and Ground to all the black wires.
Enclosure

I 3d printed an enclosure so that the PCB would not be bare. If you don’t have a 3d printer there are many sizes of ready enclosures you can buy.
Shopping list
I have compiled a list of materials from Banggood, although you can get most these items cheaper via eBay or salvaging them. I have found Banggood to be more reliable and faster when it comes to Shipping.
- 20pcs SS12D00G3 2 Position SPDT 1P2T 3 Pin PCB Panel Mini Vertical Slide Switch
- 10Pcs Mini DC Adjustable Power Supply Buck Module Step Down Module
- Excellway® JS01 10pcs 5.5 x 2.1mm DC Power Supply Female Jack Socket
- 100pcs 20mA F5 5MM 5 Colors Ultra Bright LED Diode For DIY Projects
- 560 Pcs 1 ohm to 10M ohm 1/4W 5% Metal Film Resistor 56 Value Assorted Kit
- 5Pcs PCB DIY Soldering Copper Prototype Printed Circuit Board 70mm x 90mm